Easy to use
Place fixed reservations and travel windows first. Give each day one main activity or area, then add optional ideas around it with realistic transit and rest time.
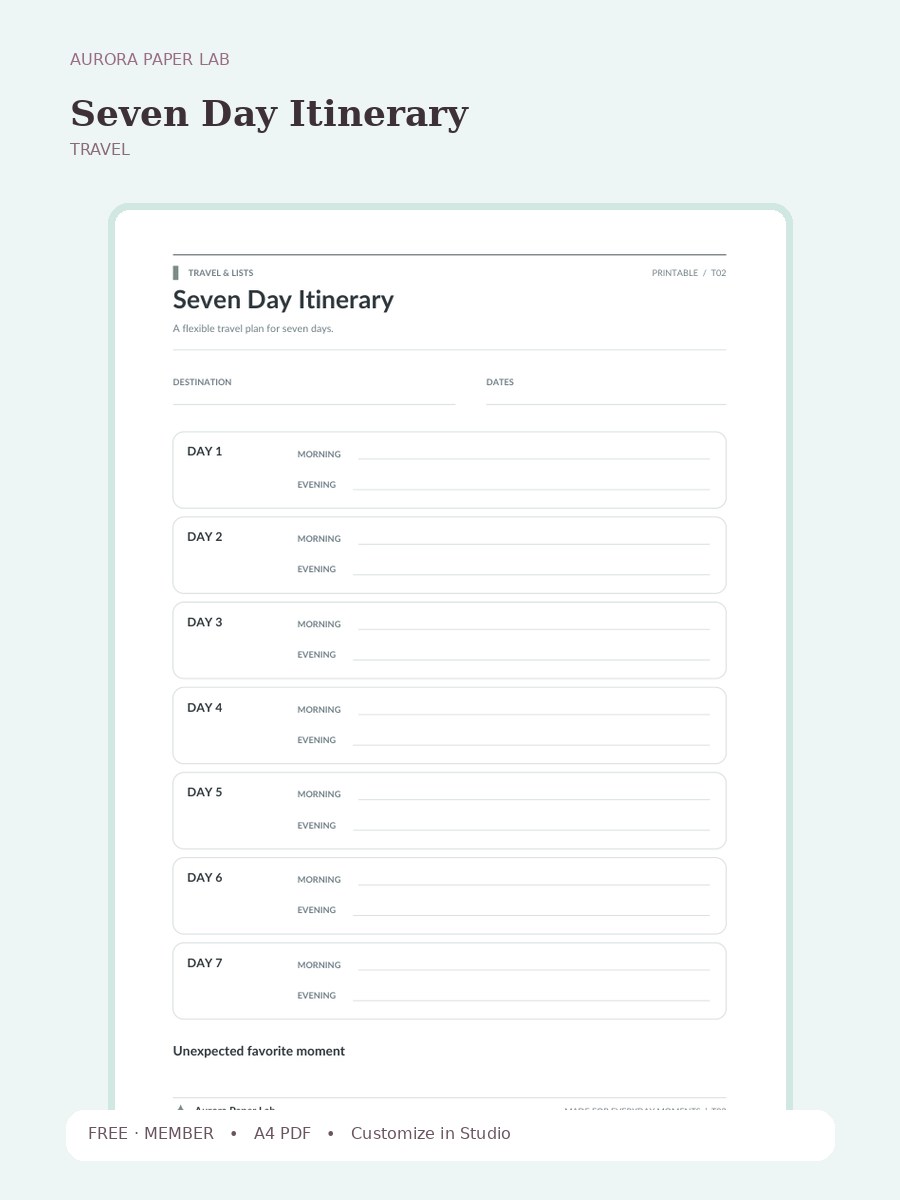
A flexible travel plan for seven days.
Preview and customize this page freely. A free member account is needed only when you download the original file.
Place fixed reservations and travel windows first. Give each day one main activity or area, then add optional ideas around it with realistic transit and rest time.
Open it in Design Studio and add your own text, colors, stickers and images.
Review Seven Day Itinerary after a real use cycle rather than judging it from the blank page. Notice which field helped you make a decision, which space you ignored, and what you had to record somewhere else. Keep the useful structure, remove unnecessary maintenance, and combine it with another Aurora page only when the second page has a clearly different purpose.
Yes. The resource page is public and the file is free; a free Aurora member account is required only at the download step.
The resource is provided as A4 PDF. Keep one clean master copy before writing on, duplicating or importing it.
PDF planner pages can usually be imported into PDF-friendly note apps such as Goodnotes. Compatibility depends on the app and device, so keep the original file and test your workflow first.
Yes. Choose Customize in Design Studio to open Seven Day Itinerary as a locked reference layer and add your own text, stickers, images and layout elements on top.
Yes. This file is designed as an A4 printable. Print one test sheet at Actual Size / 100% before a batch, check all four margins, and write in the smallest fields to make sure the scale is comfortable. If your printer cannot reach the page edge, use its fit option only after confirming that the writing areas remain large enough.
Seven Day Itinerary is designed around a specific planning job rather than a generic notes page. A seven-day itinerary works best when each day has an anchor rather than a minute-by-minute schedule. The visible prompts—Destination, Dates, Day 1, Morning—give the page enough structure to guide a review while leaving room for your own wording, handwriting and annotations. Use it as one module in a larger planner only when it solves a recurring decision; otherwise it works perfectly well as a standalone sheet.
This file is designed as an A4 printable. Print one test sheet at Actual Size / 100% before a batch, check all four margins, and write in the smallest fields to make sure the scale is comfortable. If your printer cannot reach the page edge, use its fit option only after confirming that the writing areas remain large enough.
For digital planning, import a clean copy of Seven Day Itinerary into a PDF-friendly note app or open it from Aurora Paper Lab in Design Studio. Keep the original as a master, duplicate a working copy, and add only the text, stickers or annotations that help the page do its job. Avoid storing highly sensitive information in an ordinary cloud planner.
Open the template in Studio, keep the base page locked, and layer your text, stickers and images above it.